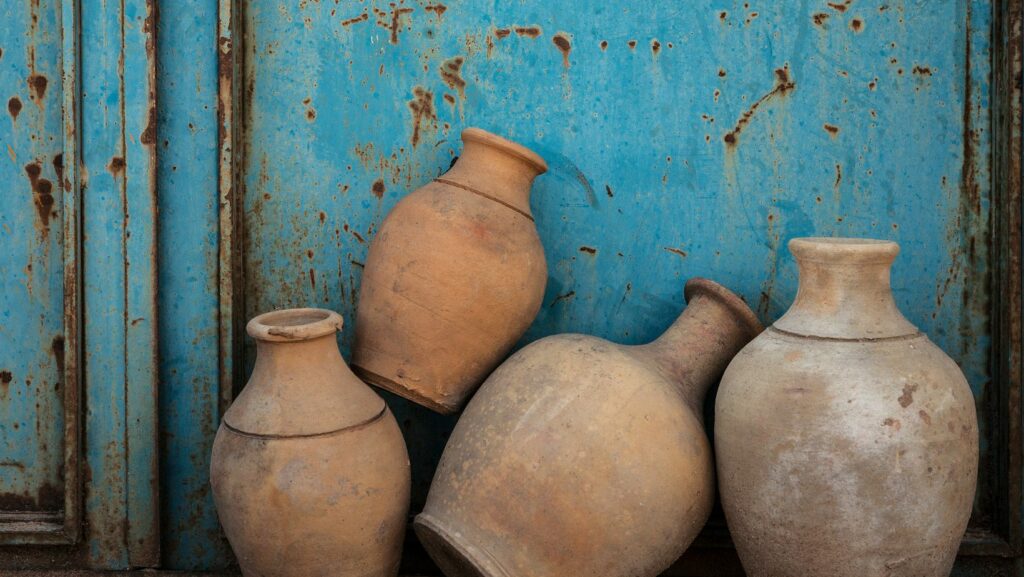
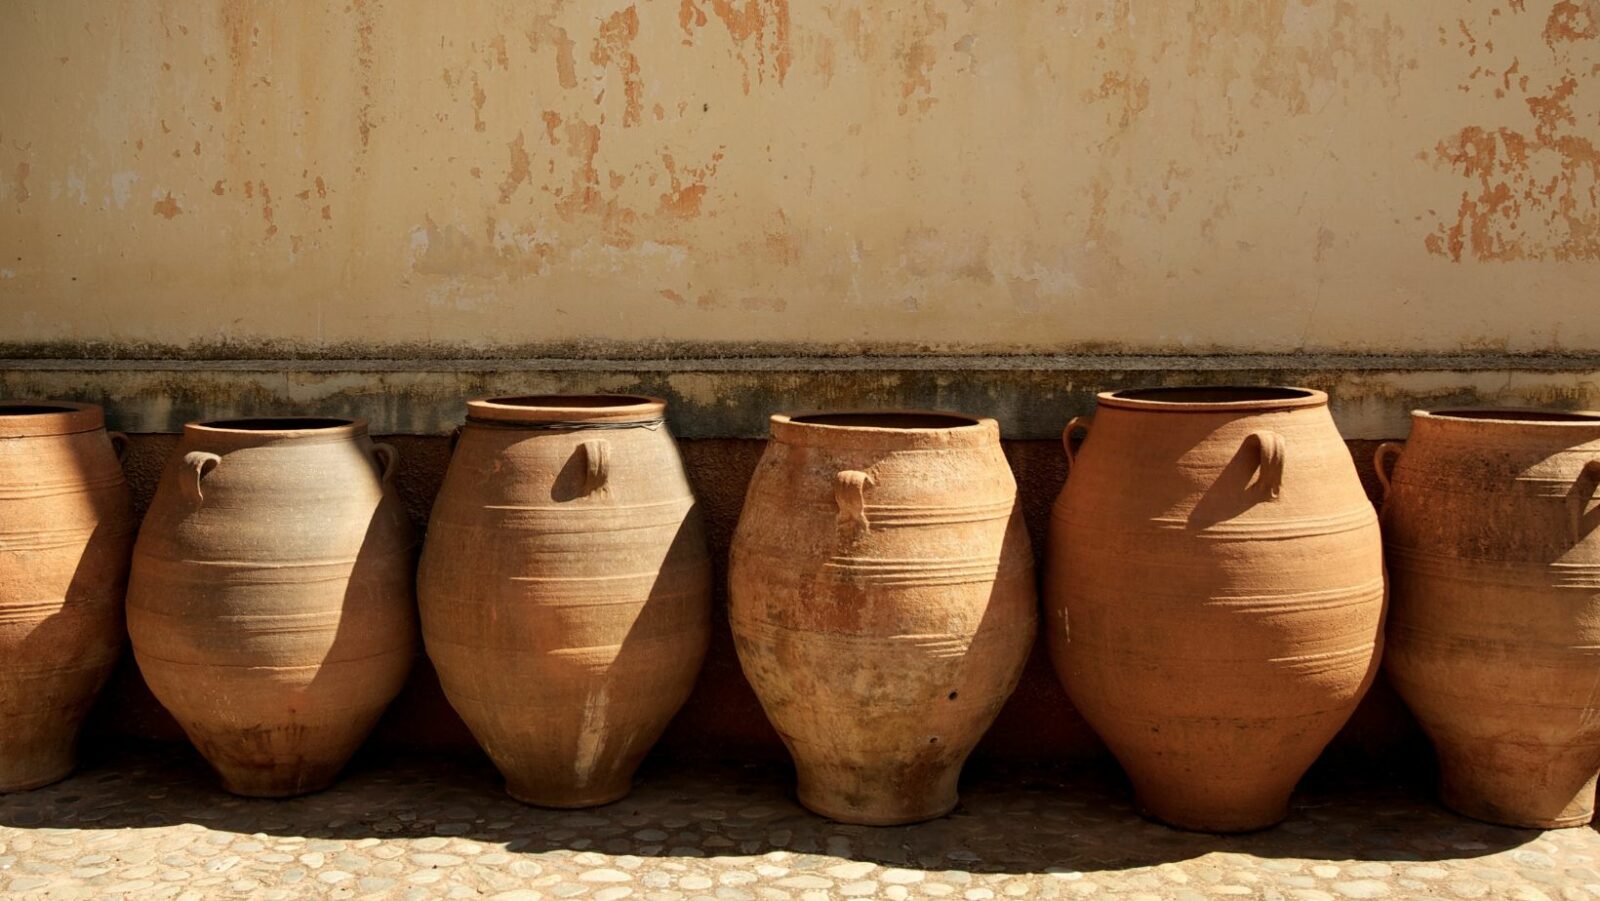
In times of survival or self-sufficiency, the ability to craft essential items from natural resources becomes invaluable. Clay pots, used for cooking, storing water, or even as containers, are crucial in such situations. Crafting clay pots from locally sourced materials can be a life-saving skill. Here, we’ll explore a step-by-step guide on how to make clay pots for survival, using basic materials and techniques.

Materials Needed:
- Clay: Look for clay-rich soil in riverbanks, creek beds, or areas where the soil is smooth and malleable. Clay should have a smooth texture without too many rocks or debris. Test the clay by rolling a small piece into a ball; it should hold its shape without cracking excessively.
- Water: A sufficient amount of water is essential for molding the clay into a workable consistency.
- Tools: Basic tools like a digging stick or shovel, a flat working surface (such as a large stone or a clean table), and optional tools for shaping (like a knife or a smooth stone).
Step-by-Step Guide:
- Gather Clay: Find a suitable location with clay-rich soil. Use a digging stick or shovel to gather the clay. Remove any stones, roots, or debris from the clay. Collect a sufficient amount, considering the size and number of pots you intend to make.
- Prepare the Clay: Place the collected clay in a clean container or on a flat surface. Gradually add water to the clay and begin kneading it thoroughly. The goal is to achieve a pliable and uniform consistency without lumps or dry patches. Work the clay until it reaches a state where it can hold its shape without being too wet or too dry.
- Shape the Pot: Take a handful of clay and begin shaping it into the desired pot form. Start by making a ball and then use your thumbs to create a hollow space in the center. Gradually pinch and shape the clay into the desired pot shape, smoothing the surface as you work. Ensure the walls of the pot are of even thickness to prevent weak points.
- Thinning the Walls: Once you’ve formed the basic shape, work on thinning the walls of the pot to make it more functional and lightweight. Use your fingers to gently press and stretch the clay walls outward, maintaining an even thickness throughout. Be careful not to thin it too much, as overly thin walls can compromise the pot’s integrity.
- Base and Rim: Ensure the base of the pot is flat and stable. Smooth any unevenness to prevent wobbling. Pay attention to the rim as well, ensuring it is even and sturdy. You can use additional clay to reinforce or shape the rim for added strength.
- Drying Process: Allow the freshly crafted clay pot to dry gradually. Place it in a sheltered area away from direct sunlight and strong winds. Depending on the climate and size of the pot, the drying process may take several days to a week. Rotate the pot periodically to ensure even drying and prevent cracking.
- Firing the Pot (Optional): To make the pot more durable and suitable for cooking or holding liquids, firing or baking it is recommended. If available, create a makeshift kiln using rocks or bricks to enclose the pot. Gradually heat the kiln over a controlled fire. Be cautious not to heat the pot too rapidly, as this can cause cracking. Once fired, allow the pot to cool completely before use.
- Finishing Touches: After the pot is completely dried or fired, inspect it for any cracks or imperfections. Use a smoothing stone or sandpaper to refine the surface further if desired.
Tips for Success:
- Work with small amounts of clay at a time to manage its consistency and prevent it from drying out.
- Keep the workspace clean to avoid contamination of the clay with debris or foreign materials.
- Regularly wet your hands to prevent the clay from sticking to them while shaping the pot.
- Start with smaller, simpler pot designs before attempting larger or more intricate shapes.
- Always ensure the pot is completely dry before firing it to prevent cracking.
Conclusion
Crafting clay pots for survival is an ancient skill that remains relevant in today’s world, especially in emergency situations or off-grid living. With basic materials and techniques, anyone can learn to make functional clay pots from locally sourced clay. These pots serve essential purposes such as cooking, storing water, or holding items. Mastering the art of pottery-making from natural resources empowers individuals with self-sufficiency and practical survival skills, ensuring readiness in challenging circumstances.


